Guide to Winterizing Your Geodesic Dome
The fall can be a great time to prepare your geodesic dome for the upcoming winter season. No matter whether you already own a dome or whether you’ve been weighing in on the benefits of investing in a dome home or greenhouse, we hope you’ll find this “Guide to Winterizing Your Geodesic Dome” useful.
Planning for inclement weather is a key step in positioning, as well as, winterizing your dome. When wintering in your geodesic dome it’s essential to be aware of seasonal weather patterns and typical snow loads specific to your area.
Begin with Good Site Planning
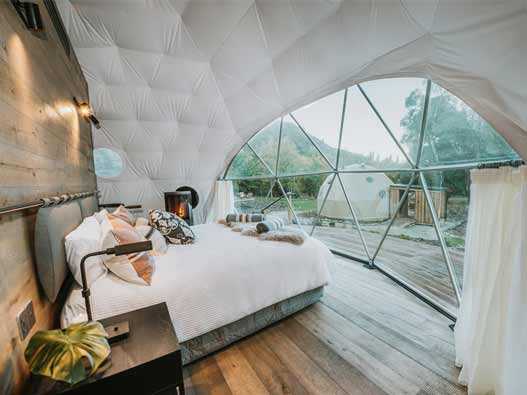
Starting with the basics, site planning begins with orienting your dome to maximize sunlight and take advantage of passive solar heating. Domes are known to be 30% more energy efficient than traditional structures. That said, it’s still important to think about how the sun moves throughout the day; as well as, consider seasonal changes when siting your dome’s placement.
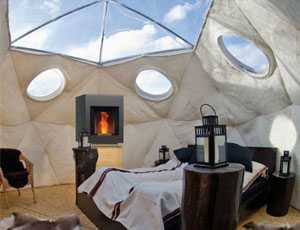
A dome’s open span allows scattered light and warmth from walls, windows and skylights to penetrate deep inside its interior. One of the key features that people love about domes is that they are pleasant to be in – they allow lots of natural light, rendering artificial light almost unnecessary during daytime hours. People love relaxing under an illuminated dome’s romantic nightime skies, as well.

When contemplating your interior design, installing a skylight can be an effective means of introducing diffused lighting and passive heating directly from the roof level. It’s easy enough to attach a removable, velcroed or drop-down insulative cover for those cold winter nights.
Design Tips:
- Take into account that sunlight is greatest on the south wall.
- Morning sun is dominant in east-facing walls.
- West-facing walls are your last chance to soak up the warmth of the sun during late afternoon, early evening hours – when the sun’s light is at its lowest angle.
- North-facing rooms lend the least amount of natural light – perfect for bathrooms and storage space.
For additional inspiration, we invite you to read Pacific Domes’ Guide to Interior Design and Décor.
Next Steps
Cleaning, maintenance and repairs: Fall is an opportune time to do any needed maintenance on your dome. Although dome covers offer seamless protection from the elements, moisture and cold from unsealed openings can seep inside your dome. There are some simple steps to cleaning your dome prior to winterizing. You will want to check for places that may need recaulking, reinforcement or repairs.

Insulating your dome: Insulation is an integral part of winterizing your dome. Over the years, Pacific Domes has used and tested many types of materials for their insulative properties and determined what works best in a variety of climates and weather extremes. The insulation industry is constantly evolving and coming up with space-age technologies to help improve the energy efficiency of our domes. One such technology is the Reflectix™ liner – also, offers added protection from EMF.
Heating your dome: Last, but not least, when it comes to heating your dome, there’s a range of options in today’s market. Many dome owners consider a cozy, efficient wood-burning stove to be a wise investment that enhances dome life ambiance. Stove cap and flashing is a custom feature that you will want to consider when purchasing your dome. Don’t forget to clean your chimney flue and stack some firewood, too.
Congratulations! You’re ready for winter!
Just as with any shelter, winterizing your dome is part of the journey and well-worth your time and energy investment. You’ll reap the reward for your efforts soon enough during those cold winter months.
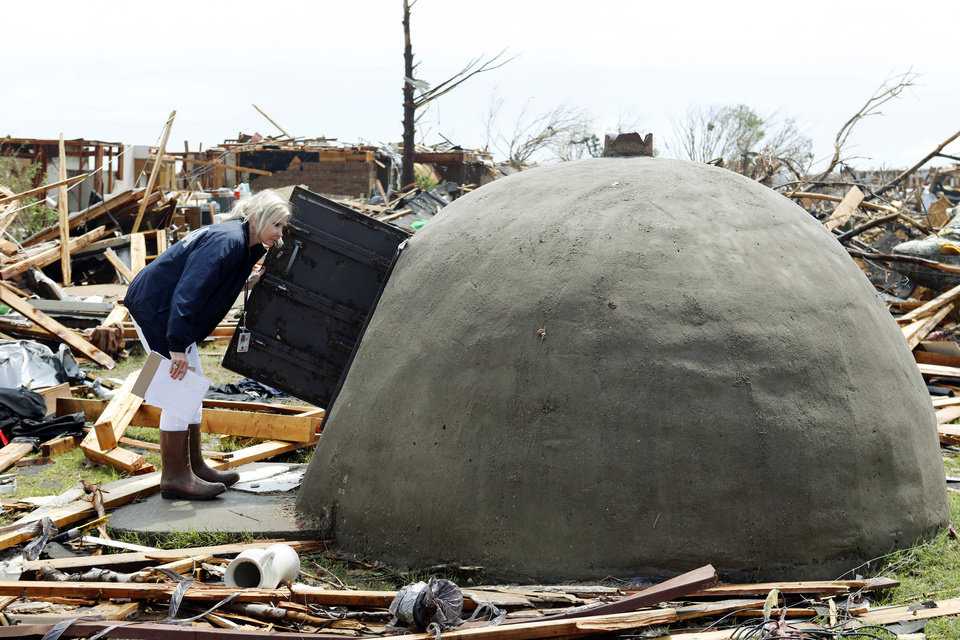
In the face of some of the most intense storms in history, homeowners are finding simple, ingenious ways to minimize their vulnerability to weather extremes by building with geodesic domes. A self-supporting structure, a geodesic dome is strong enough to withstand even a category EF5 tornado, a monstrous hurricane or a massive earthquake.

